How we switched to documentation-as-code with Gatsby.js and Netlify — Markdown & hosting (1/3)


It’s been a few weeks now that we have switched to a static site to manage our docs. This is a 3 parts series where we will explain why we did this and show you how it can be done with Gatsby.js and Netlify.
- In part 1 (this post) we’ll see how we can create a static website with Gatsby.js, manage the content as Markdown documents and host it on Netlify
- In part 2 we’ll polish our doc site to add a proper layout and images
- In part 3 we will see how to add analytics and search.
- You can also clone and use our docs-as-code starter kit on Github to create your own documentation portal.
Giving credit where it’s due
A lot of the work is derived from the Gatsby website code itself and the great work that Dustin Schau has done in a tutorial. You should definitely read Dustin’s post to get a deeper understanding of how Gatsby works — this post skims over a lot of things and focuses on getting you up & running quickly.
Why did we moved to static content for docs?
A few months ago we launched the public beta of Squadlytics and we had to quickly decide how we wanted to manage our documentation portal. It came down to 2 options.
Option 1: Pay for it
There are a few services offering documentation as a service. Some like Readme.io are focused on API documentation while others such as Intercom, HelpScout or Zendesk provide solutions better suited to create a knowledge base and product guides.
Costs vary from $5/month to $50/month depending on the solution and options you need. The obvious advantage is that you can focus on writing the content, but you can also get features to collect feedback from your users, or allow them to suggest corrections. This is a great path if time-to-market is critical for you.
Option 2: Build it ourselves
It sounds a lot like reinventing the wheel after describing what existing services do but there are still some great benefits to building your own doc portal.
First of all you can manage your documentation as code, which brings all the benefits of version control and reviews to your knowledge management process. Secondly, while I’ve said above that paying for a service allows you to focus on writing content it’s not always true. A lot of the time you’ll have to fiddle with the themes available to make your portal fit with your brand and options to customize content tend to inflate your bill rather quickly.
We picked option 2 but started with option 1
We chose to build the portal ourselves for the following reasons:
- All the advantages of having doc managed as code.
- It’s a static website so the costs of the development would stay low.
- We’d get full control on the look and feel.
- Saving a few bucks where you can is important when you’re bootstrapping a business.
But because we decided to start with option 1 to avoid the potential development headaches at the time of the beta launch. Our focus was to start getting feedback from people using the product so we knowingly opted for a rather dry documentation portal.
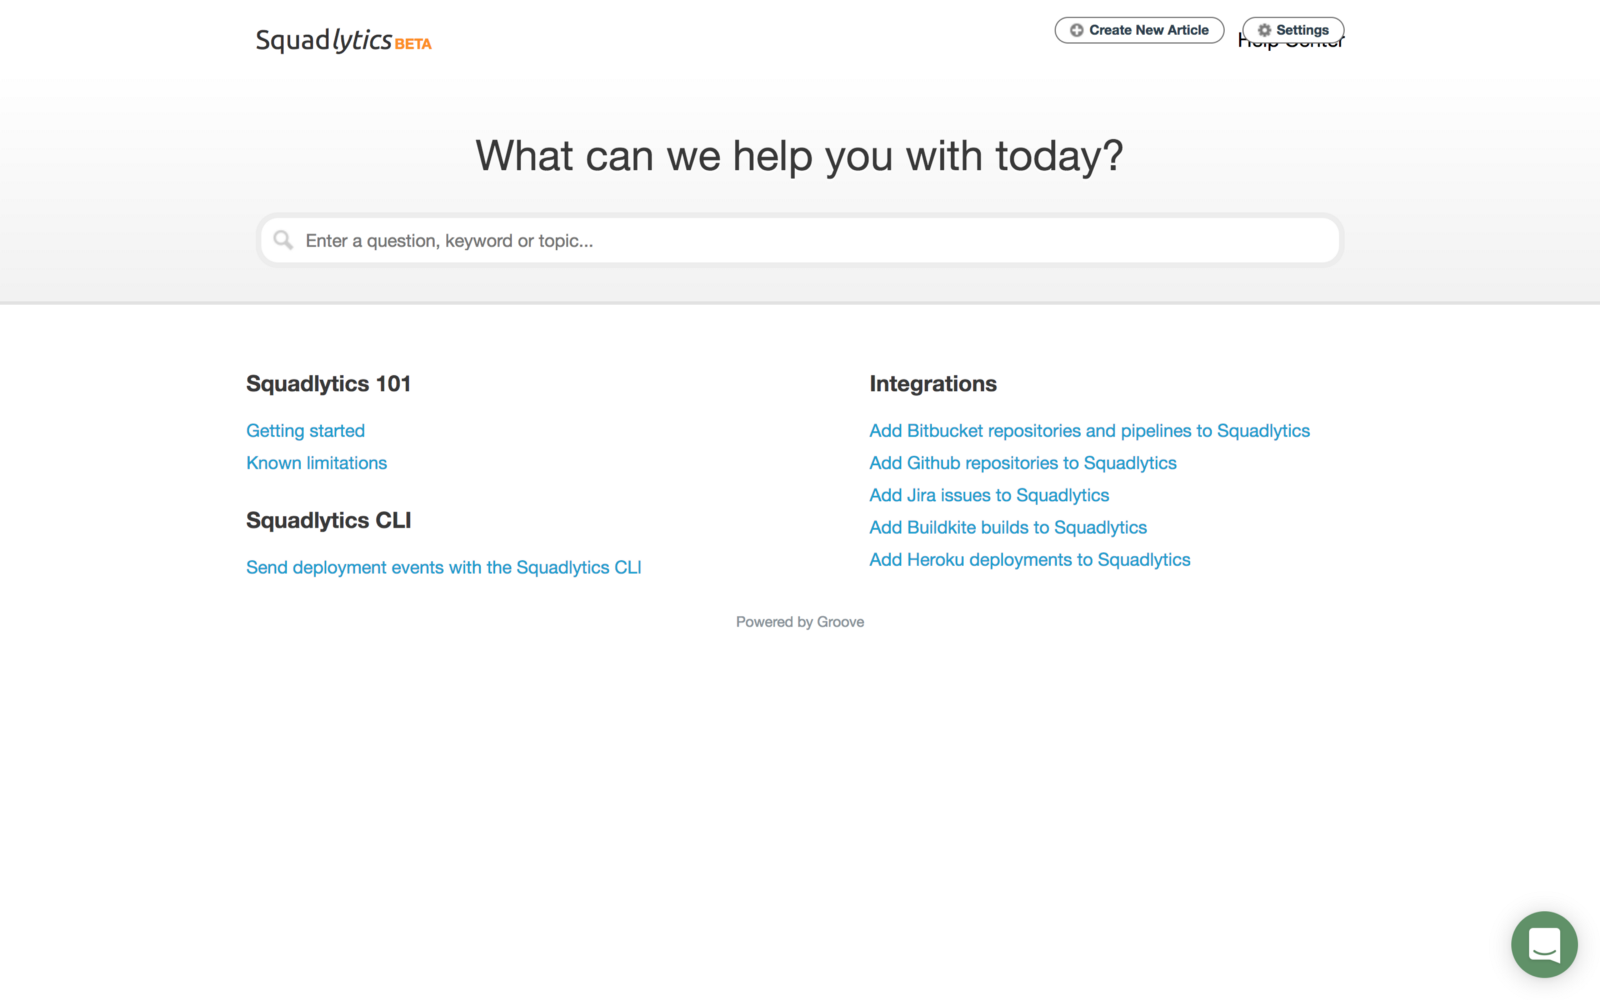
Our rather plain v1 of the docs.
We picked Groove to host the docs because they were (strangely) one of the only solution accepting Markdown for content. Using this format makes it easier to switch platforms as you don’t have to deal with custom HTML/CSS formatting that may be injected by a WYSIWYG editor.
This is a long introduction but I hope that it might help you as well if you’re looking at solutions to manage your docs. And now, without further ado, let’s see how we can build a documentation portal in practice.
Building a documentation portal using a static site generator
Alright! In the next sections we will see how you can have a set of docs written in Markdown and published on the web — for free.
Here’s what you’ll need:
- A terminal
- Node (this tutorial has been tested with v8.9.4)
- NPM 5+
- Git
- A Bitbucket (because they have free private repositories) or a Github repo.
1. Installing Gatsby.js
Gatsby.js is a static site generator that competes with other frameworks like Jekyll or Hugo. The main difference is that it uses React under the hood which is great if you’re already using React as you have less context switching to do.
Don’t fret if you’re not familiar with React as you won’t need to master its concepts to get going.
Start by opening your terminal and run the commands below to install Gatsby CLI and create your new documentation portal.
npm install -g gatsby-cli
gatsby new docs-site
When the site creation is finished you can start a hot-reloading dev environment via:
cd docs-site
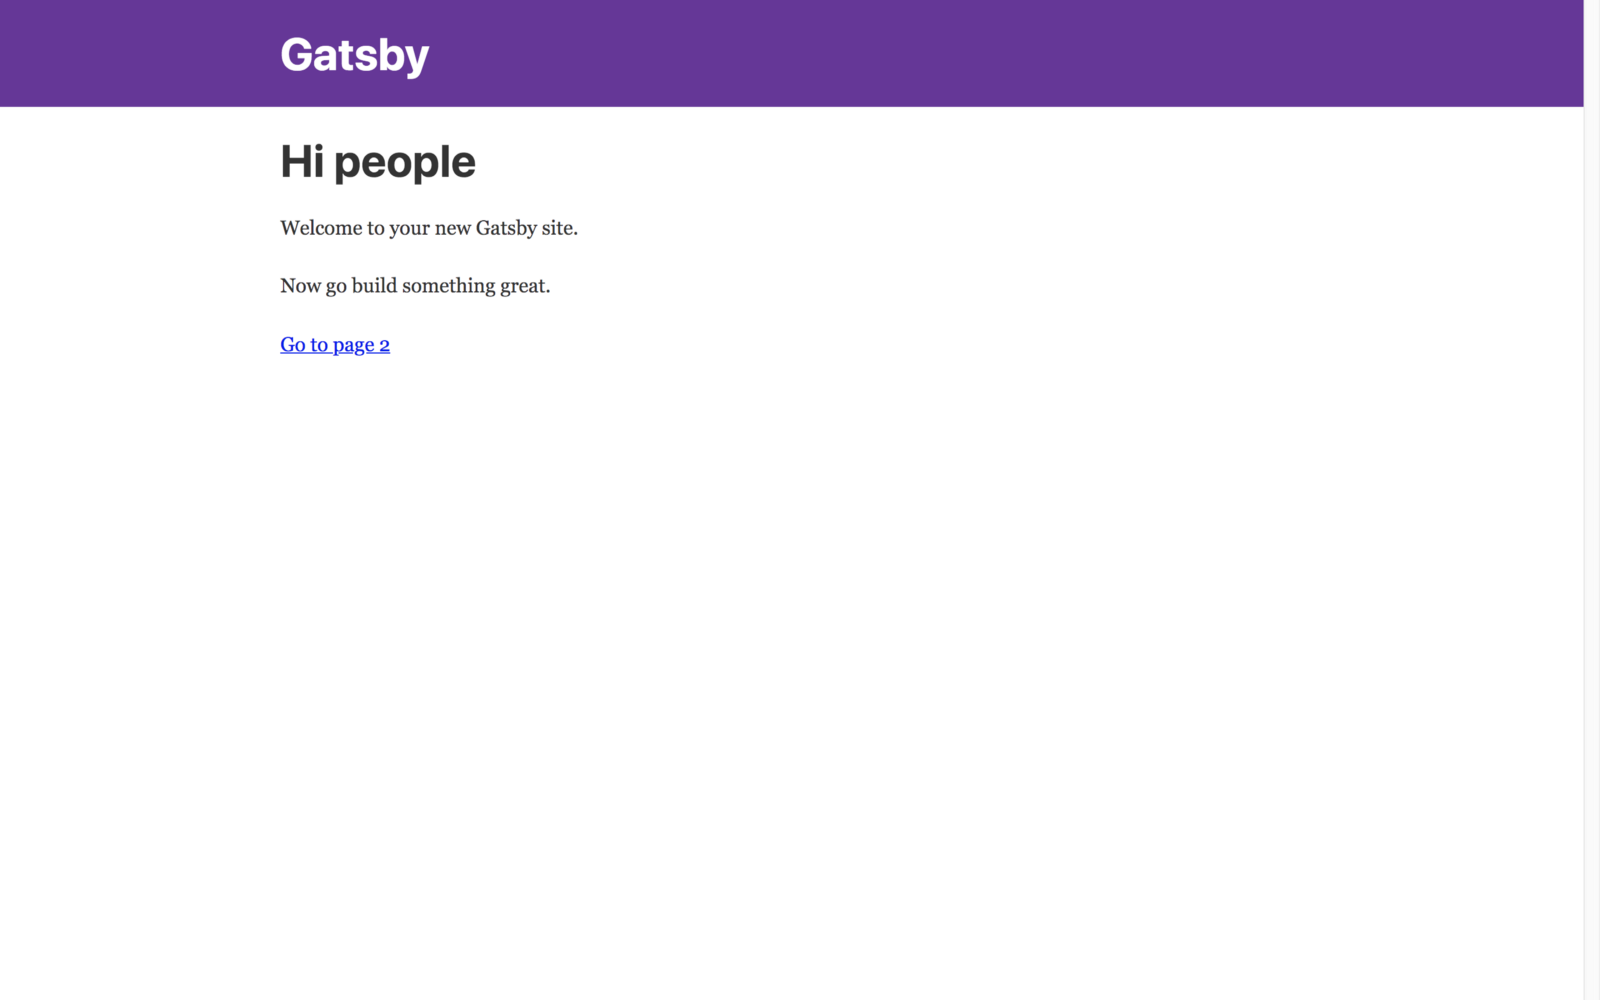
gatsby develop
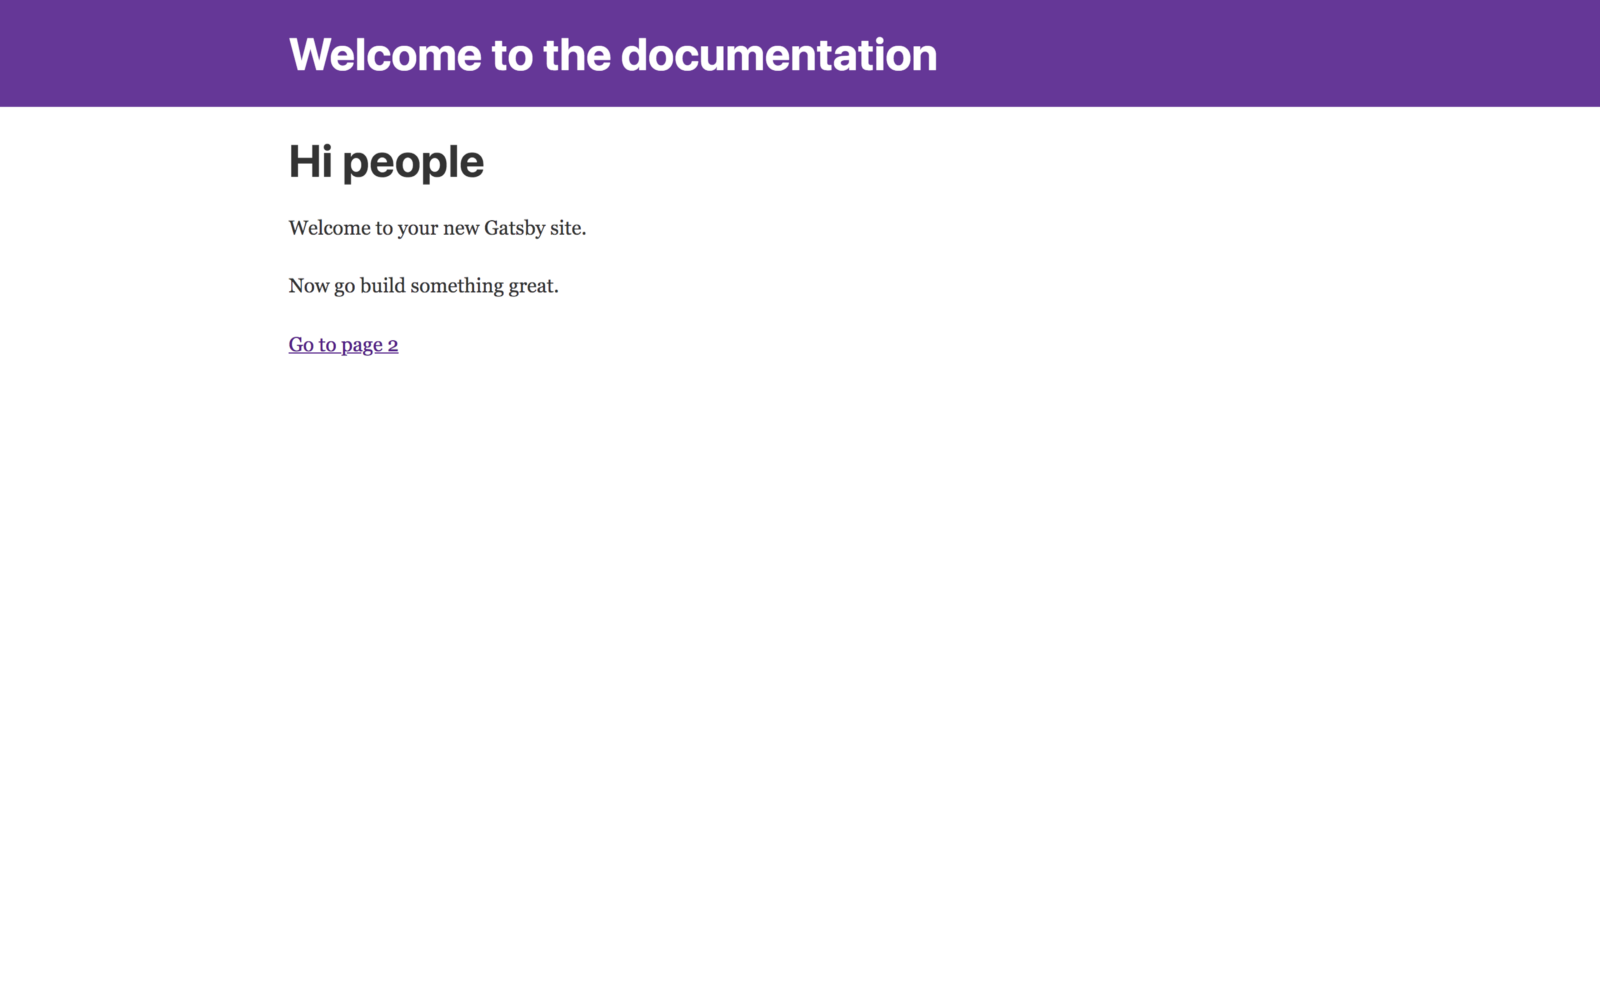
If you go to http://localhost:8000 you should see the screen below.
2. Basic updates of the layout
When you create a new site using the Gatsby CLI you get the following folder structure:
.
├── LICENSE
├── README.md
├── gatsby-browser.js
├── gatsby-config.js
├── gatsby-node.js
├── gatsby-ssr.js
├── package-lock.json
├── package.json
├── public
│   ├── index.html
│   ├── render-page.js.map
│   └── static
├── src
│   ├── components        # Shared sections (Header, Footer)
│   │   └── Header
│   │       └── index.js
│   ├── layouts           # General layout of the site
│   │   ├── index.css
│   │   └── index.js
│   └── pages             # Pages of your website
│       ├── 404.js
│       ├── index.js
│       └── page-2.js
└── yarn.lock
You can edit the header by opening the file at src/components/Header/index.js
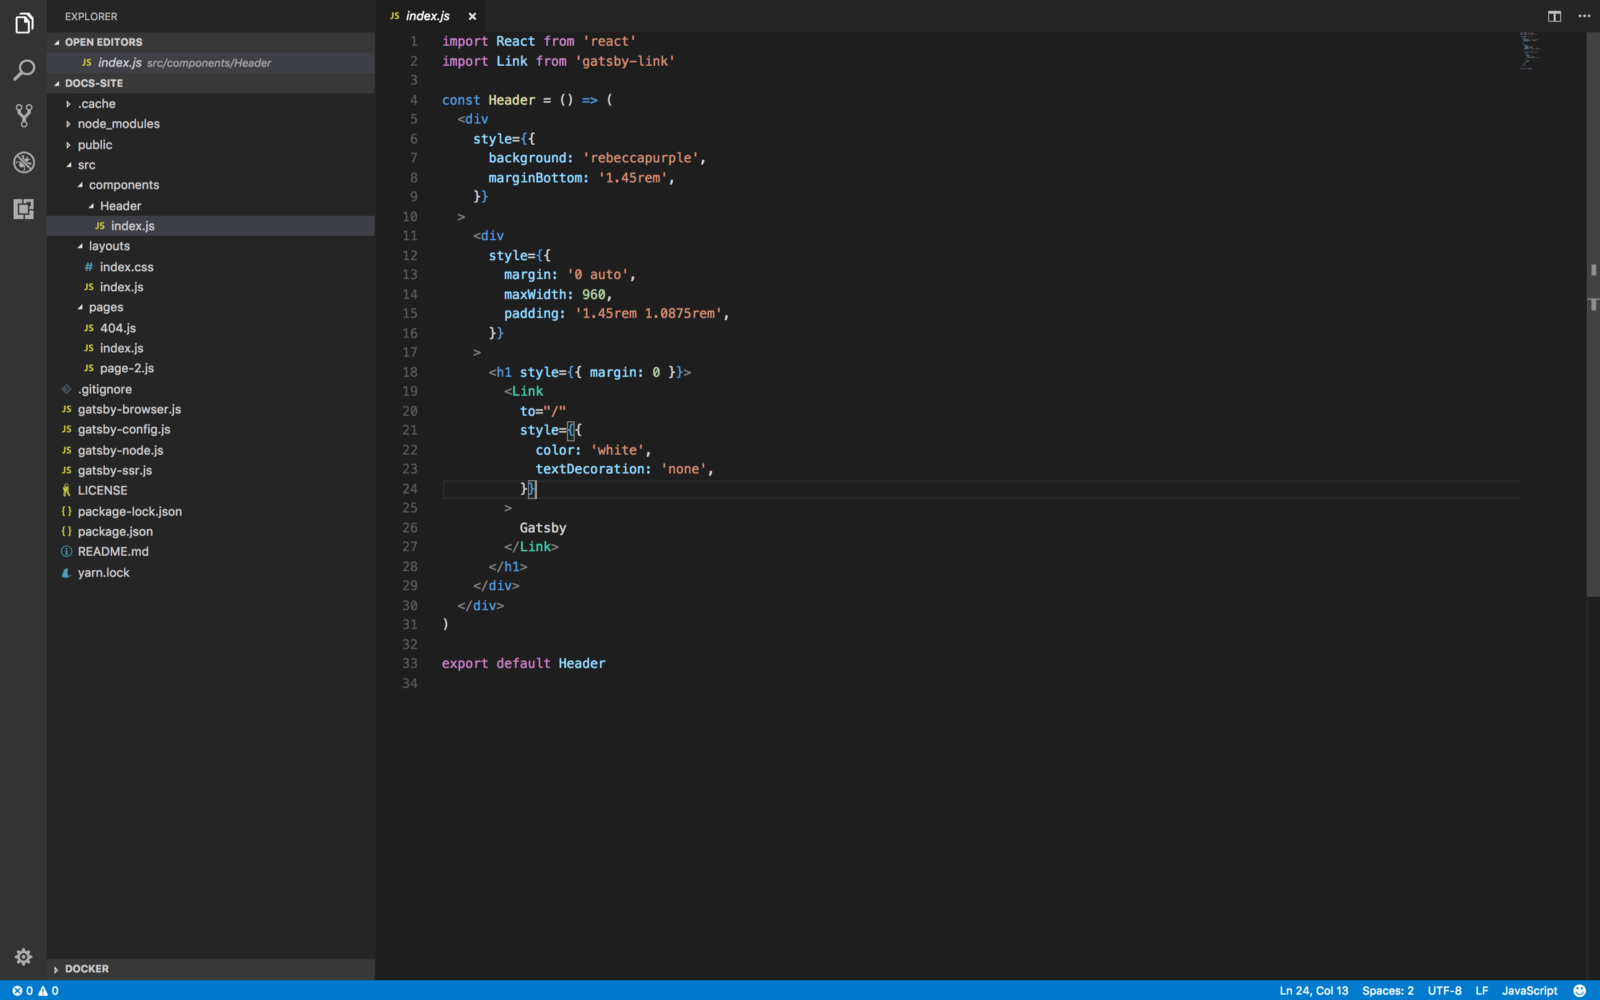
Just changes the content of the <h1> tag to update your header.
import React from 'react'
import Link from 'gatsby-link'
const Header = () => (
  <div
    style={{
      background: 'rebeccapurple',
      marginBottom: '1.45rem',
    }}
  >
    <div
      style={{
        margin: '0 auto',
        maxWidth: 960,
        padding: '1.45rem 1.0875rem',
      }}
    >
      <h1 style={{ margin: 0 }}>
        <Link
          to="/"
          style={{
            color: 'white',
            textDecoration: 'none',
          }}
        >
          Welcome to the documentation
        </Link>
      </h1>
    </div>
  </div>
)
export default Header
Now if you go back to http://localhost:8000/ you should see your new header. You shouldn’t need to refresh the page thanks to the hot reloading.
We can also update the title displayed in the browser tab by editing the general layout at src/layouts/index.js
// src/layouts/index.js
import React from 'react'
import PropTypes from 'prop-types'
import Helmet from 'react-helmet'
import Header from '../components/Header'
import './index.css'
const TemplateWrapper = ({ children }) => (
  <div>
    <Helmet
      title="Welcome to the docs!"
      meta={[
        { name: 'description', content: 'Sample' },
        { name: 'keywords', content: 'sample, something' },
      ]}
    />
    <Header />
    <div
      style={{
        margin: '0 auto',
        maxWidth: 960,
        padding: '0px 1.0875rem 1.45rem',
        paddingTop: 0,
      }}
    >
      {children()}
    </div>
  </div>
)
TemplateWrapper.propTypes = {
  children: PropTypes.func,
}
export default TemplateWrapper
The <Helmet> tag is a React component that allows you to inject or replace metadata contained in the <head> section of the rendered HTML page.
After saving the layout your local website should look like the picture below (the tab title is updated).
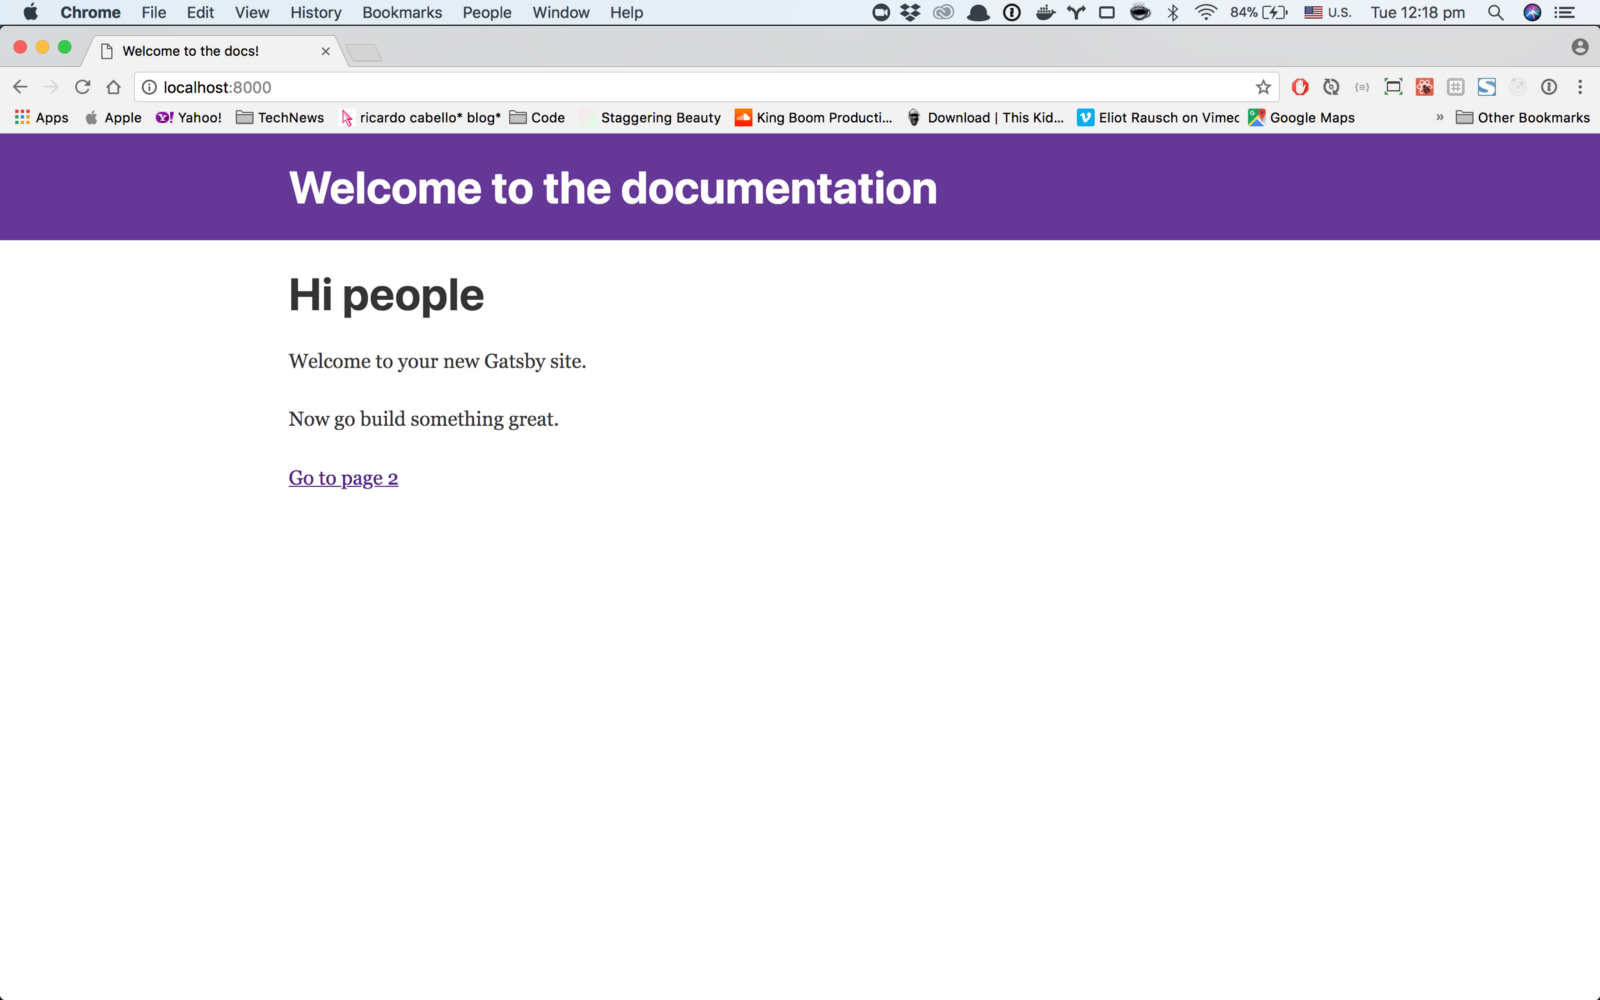
Header and browser tabs should say welcome.
This was a short introduction to layouts in Gatsby and you can learn more about layouts and styling in the documentation. We will come back to it later in the second post when we will create a UX suitable for docs but for now we need to focus first on making the docs available online.
3. Installing and configuring the plugins to manage our docs
We will need a few plugins to transform the Markdown into HTML.
- gatsby-transformer-remark to convert .md files to HTML.
- gatsby-remark-prismjs to get syntax highlighting.
- gatsby-remark-copy-linked-files to add illustrations to our docs (we will do that in part 2).
- gatsby-remark-images to compress images when the static site is built (we will use that in part 2).
- gatsby-source-filesystem to read the doc files from a custom path.
Run the following command in your terminal to install all the dependencies.
npm install --save gatsby-transformer-remark gatsby-remark-prismjs gatsby-remark-copy-linked-files gatsby-remark-images gatsby-source-filesystem
Then edit gatsby-config.js to configure the plugins. It’s divided into a section for translating Markdown files into HTML documents and another one indicating that our Markdown docs will be living under src/docs.
// gatsby-config.js
module.exports = {
  siteMetadata: {
    title: 'Welcome to the docs!',
  },
  plugins: [
    'gatsby-plugin-react-helmet',
    {
      resolve: 'gatsby-transformer-remark',
      options: {
        plugins: [
          'gatsby-remark-prismjs',
          'gatsby-remark-copy-linked-files',
          {
            resolve: `gatsby-remark-images`,
            options: {
              maxWidth: 800,
              linkImagesToOriginal: false
            },
          }
        ]
      }
    },
    {
      resolve: `gatsby-source-filesystem`,
      options: {
        path: `${__dirname}/src/docs`,
        name: "docs",
      },
    },
  ],
};
4. Creating our docs
We can now create 2 documentation pages for our site.
mkdir src/docs
touch src/docs/getting-started.md src/docs/about.md
Open the file at src/docs/getting-started.md and add the following content.
---
path: "/getting-started"
title: "Getting Started"
---
## What's this?
This is our first doc!
Then edit src/docs/about.md to update the its content.
---
path: "/about"
title: "About us"
---
## What's that?
This is another page.
The section that you see on top of the page is called the Front Matter and it will be used later to determine what the title and URL of the pages should be. It is the path parameter in the front matter and not the filename that will be used to determine the URL of the doc pages.
5. Creating the template for our doc pages
So far we have:
- Generated our Gatsby site
- Done basic layout updates
- Added the plugins required to generate the HTML version of the docs
- Created 2 doc pages in Markdown
Now we need to create a new template that will be used to display the content of the docs. The same template will be used for all the pages — you can see that as a plain container for the HTML generated.
mkdir src/templates
touch src/templates/docs-template.js
Now edit src/templates/docs-template.js to add the template layout and configuration.
// src/templates/docs-template.js
import React, { Component } from 'react';
import Helmet from 'react-helmet';
class Template extends Component {
  render() {
    const { markdownRemark: page } = this.props.data;
    return (
      <div>
        <Helmet title={`Docs | ${page.frontmatter.title}`} />
        <div className="page">
          <header>
            <h1>{page.frontmatter.title}</h1>
            <span>{page.frontmatter.baseline}</span>
          </header>
          <div dangerouslySetInnerHTML={{ __html: page.html }} />
        </div>
      </div>
    );
  }
}
export default Template
export const pageQuery = graphql`
  query DocsByPath($path: String!) {
    markdownRemark(frontmatter: { path: { eq: $path } }) {
      html
      frontmatter {
        path
        title
      }
    }
  }
`
;
The class at the beginning contains is the React component that defines how our docs should be rendered while the GraphQL query at the bottom fetches the data that needs to be used for the content. To understand the GraphQL query better I invite you to read more in Dustin’s post.
6. Creating the pages
We have a template and some .md files but we need to tell Gatsby how to create the documentation pages. We can do that using the createPage API that is called at build time.
Open the file called gatsby-node.js and add the following code:
// gatsby-node.js
const path = require('path');
exports.createPages = ({ boundActionCreators, graphql }) => {
  const { createPage } = boundActionCreators;
  const docTemplate = path.resolve(`src/templates/docs-template.js`);
  return graphql(`{
      allMarkdownRemark(
        sort: { order: DESC, fields: [frontmatter___title] }
        limit: 1000
      ) {
        edges {
          node {
            excerpt(pruneLength: 250)
            html
            id
            frontmatter {
              path
              title
            }
          }
        }
      }
    }`)
    .then(result => {
      if (result.errors) {
        return Promise.reject(result.errors);
      }
result.data.allMarkdownRemark.edges
        .forEach(({ node }) => {
          createPage({
            path: node.frontmatter.path,
            component: docTemplate,
            context: {}
          });
        });
    });
}
Once this is done you can restart your gatsby develop process to verify that the Getting Started and About pages are loading properly.
gatsby develop
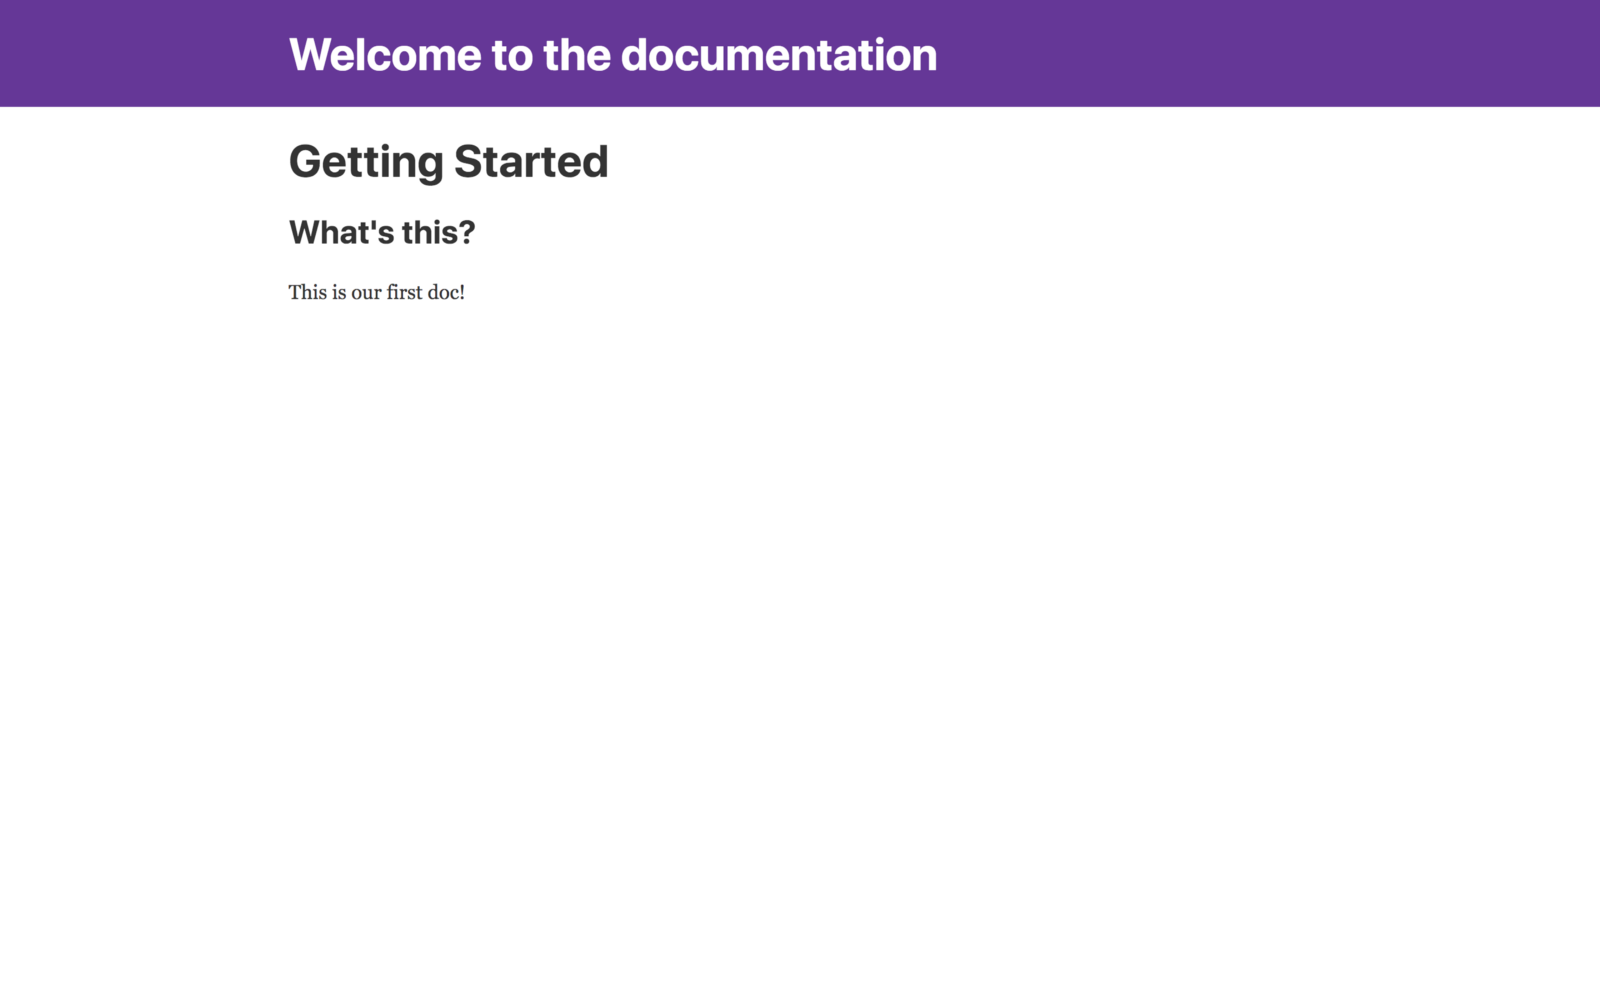
Going to http://localhost:8000/getting-started should display:
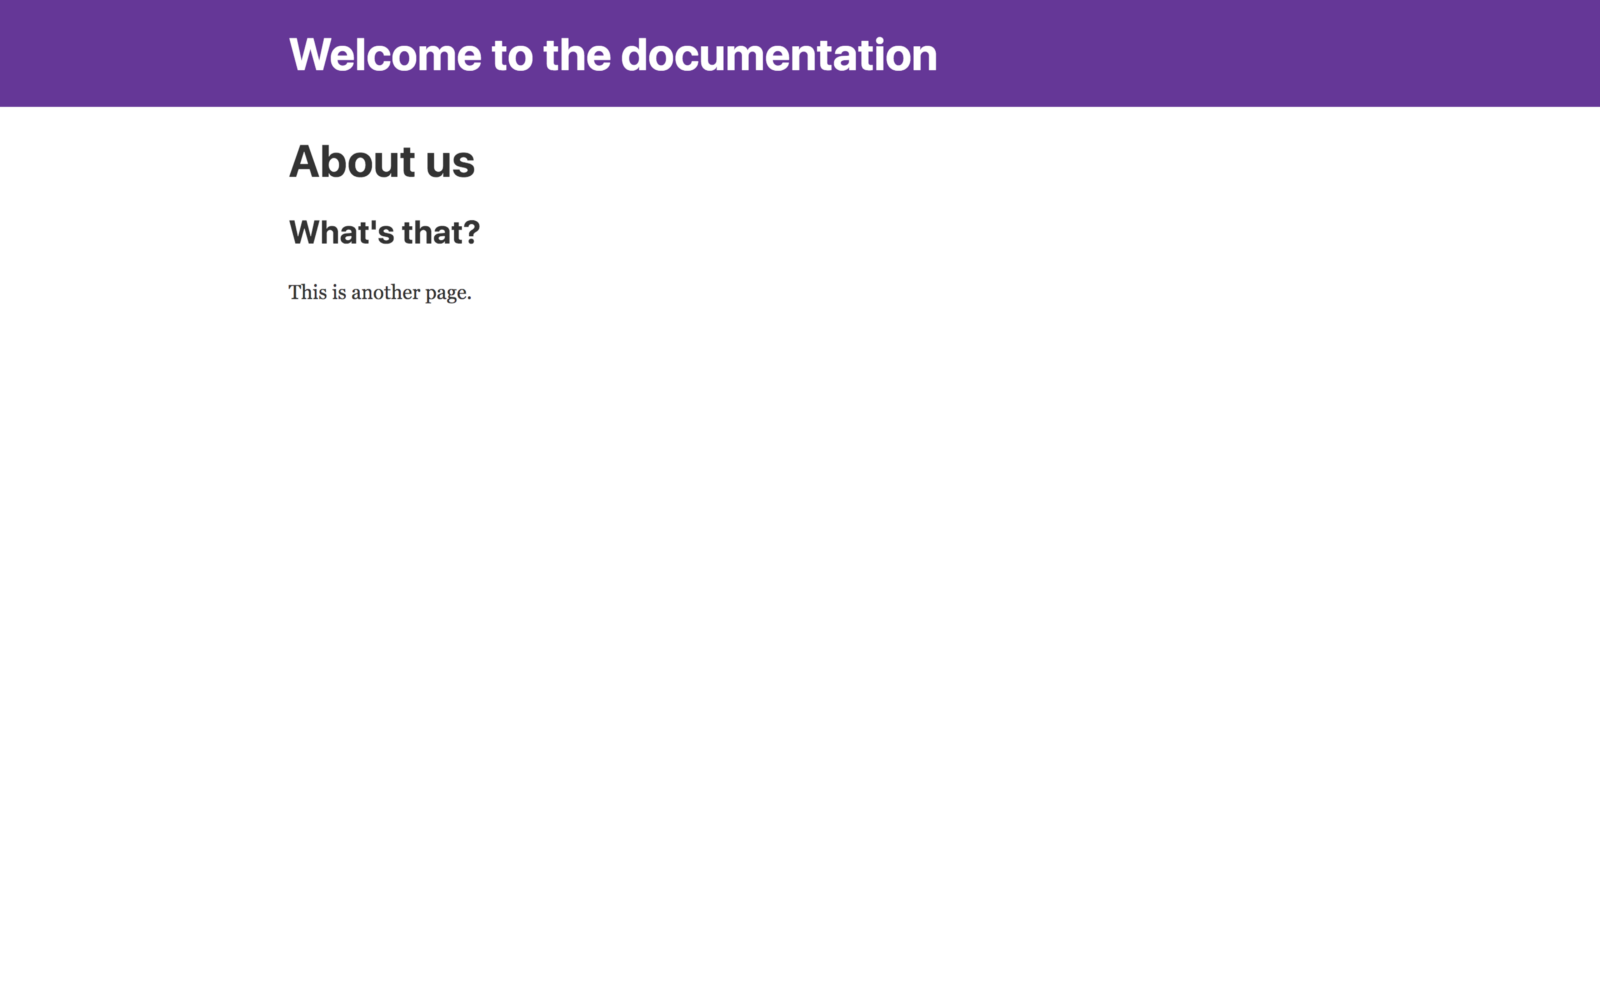
And going to http://localhost:8000/about should show:
Deploying your docs online with Netlify
We’re almost done! Now we’re going to publish our docs online. Thanks to the great work that the Netlify team is doing this is going to be the easiest part of this tutorial.
First we need to remove the yarn.lock to force Netlify to use NPM instead. This is important because Yarn will fail the build.
rm yarn.lock
Then let’s add our code to Bitbucket (or Github).
git init .
git add .
git commit -am "First commit"
git remote add origin <url of your repo>
git push origin master
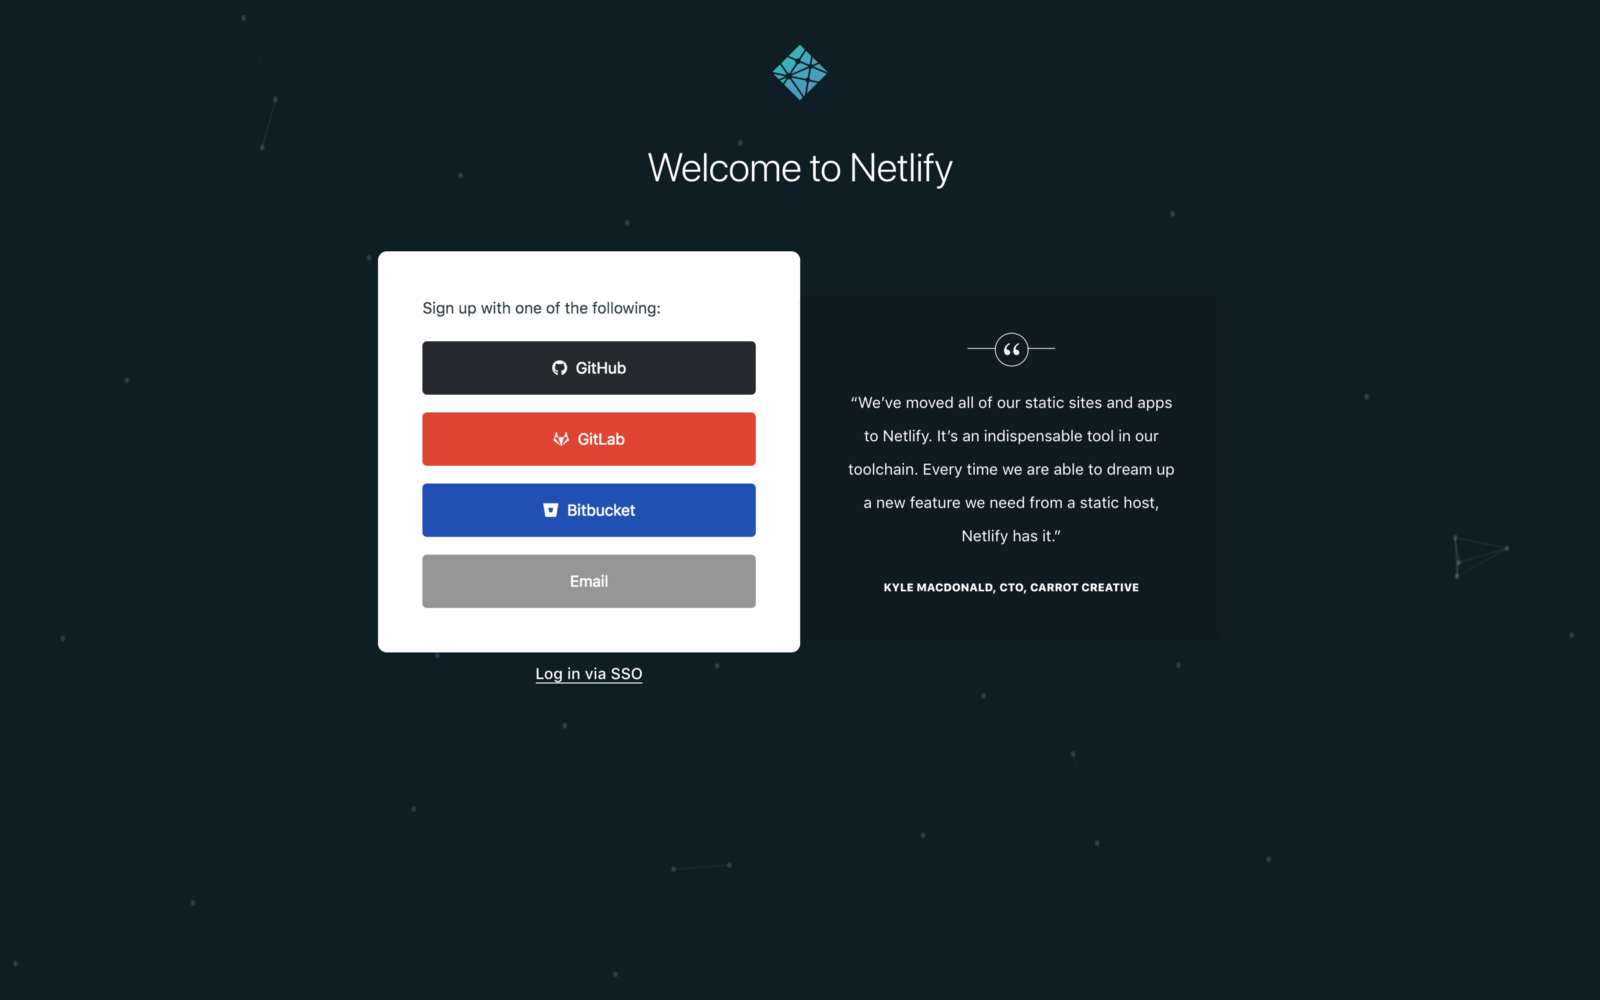
Now go to https://app.netlify.com/signup and click on your repo hosting service to signup.
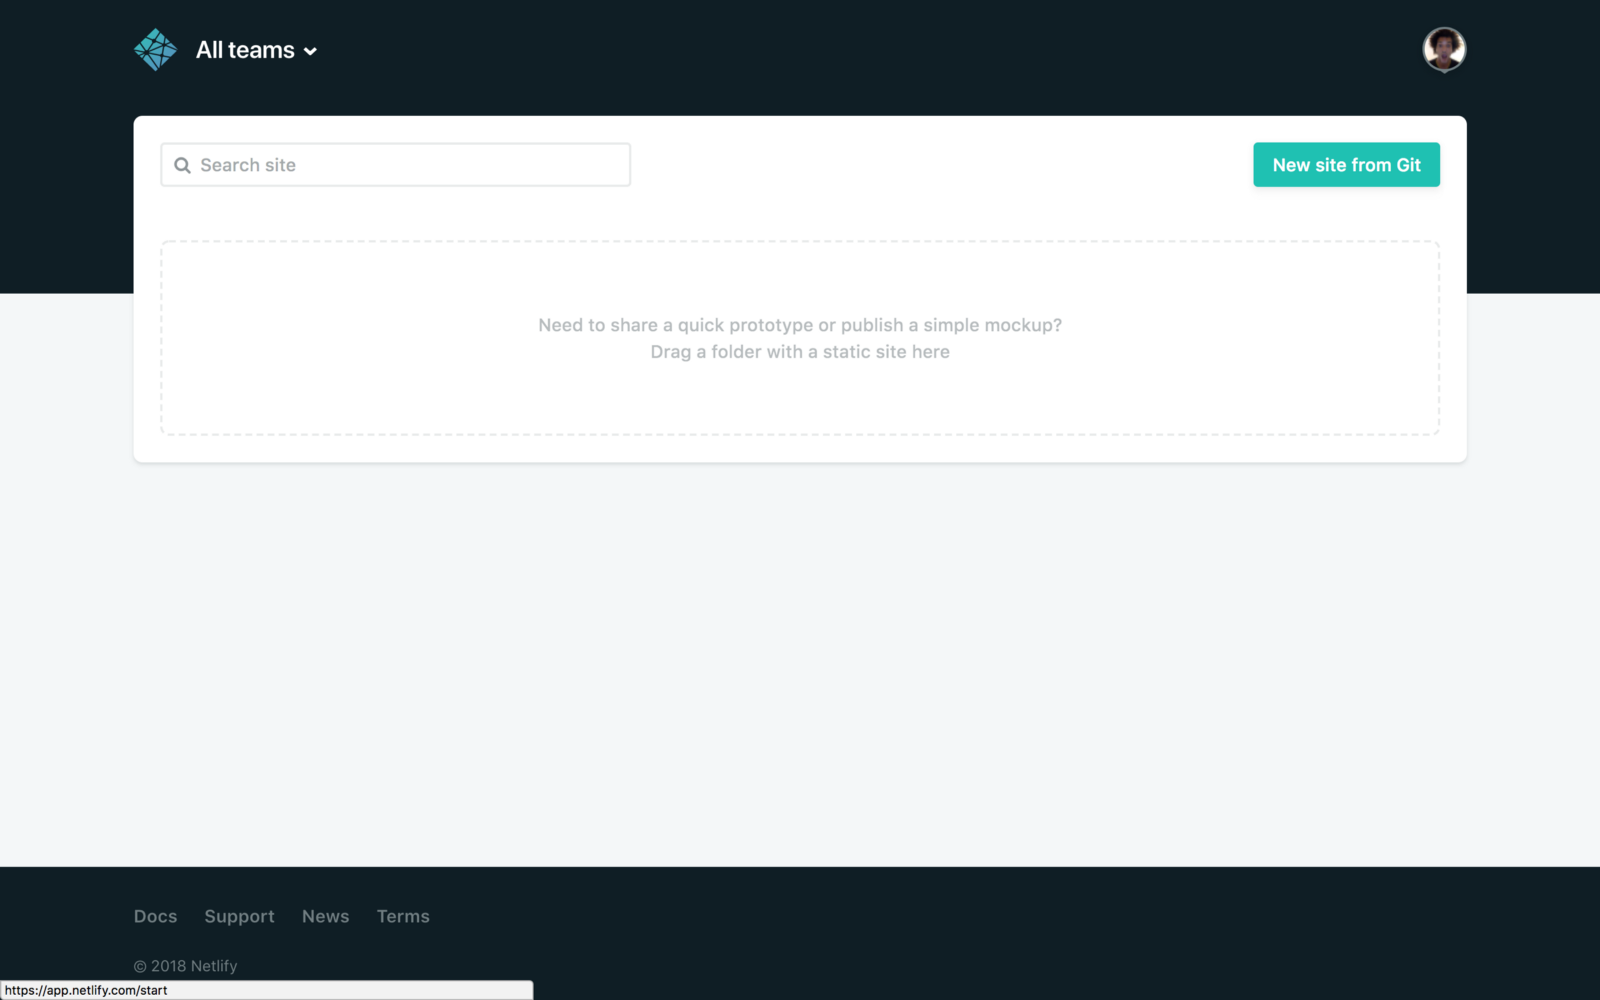
Click on the button New site from Git on the next screen.
Use the wizard to find your repository and in the last screen you should automatically end up with the right Gatsby build configuration.
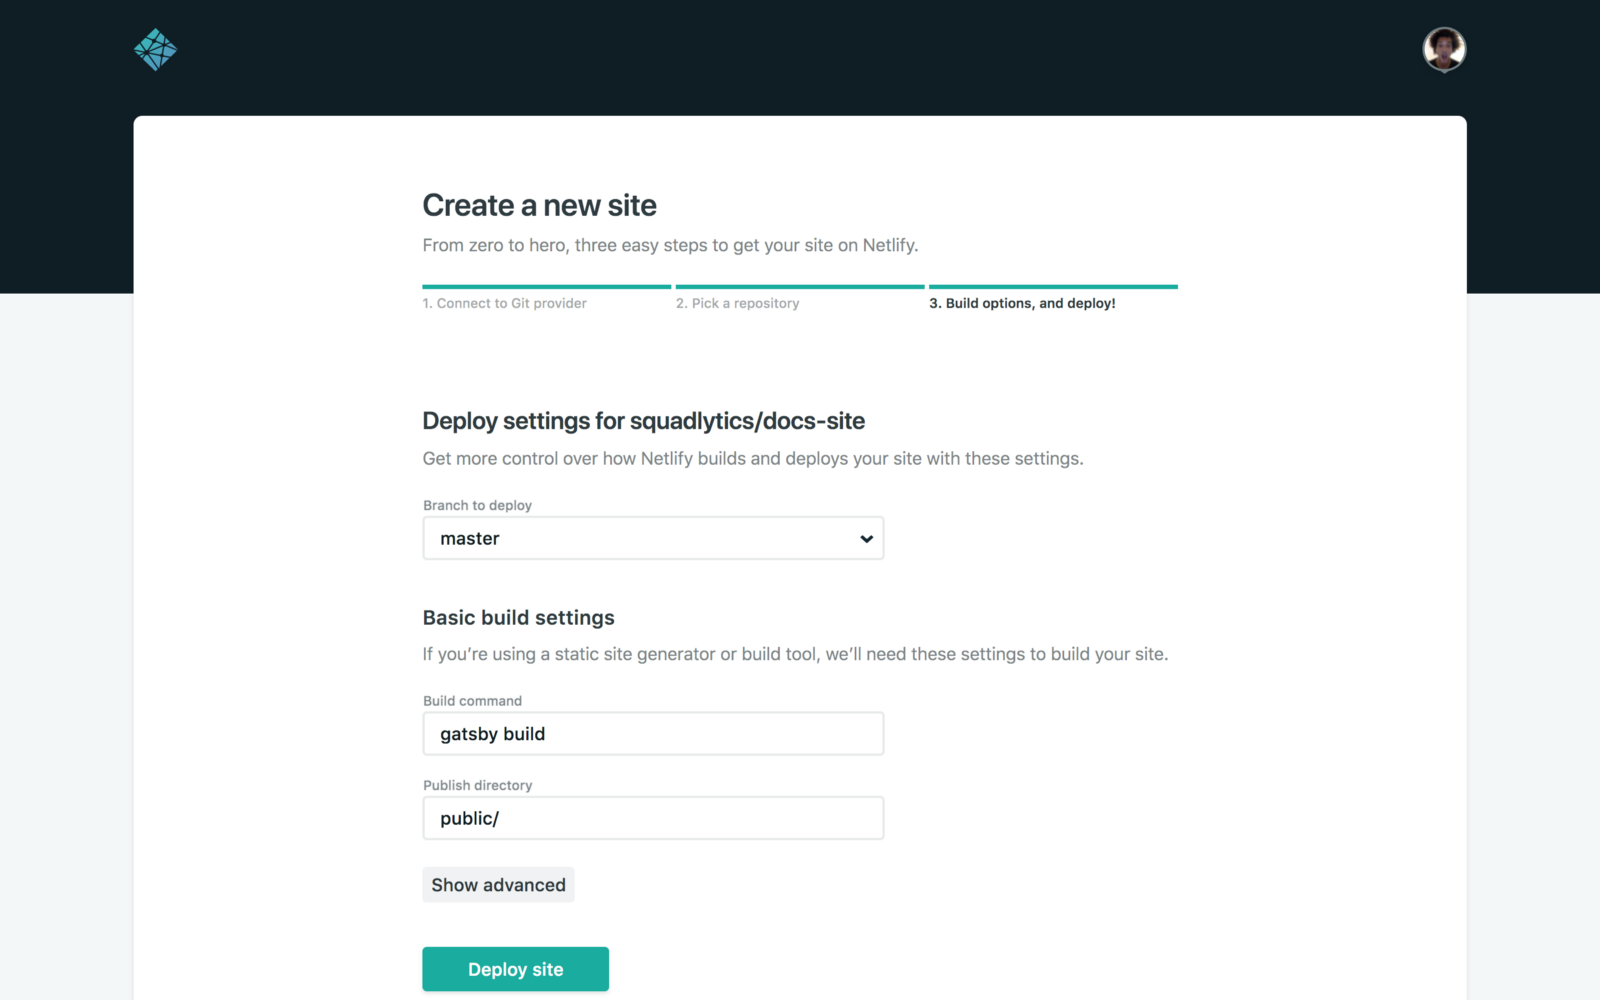
Just hit the Deploy site button to trigger your first deployment.
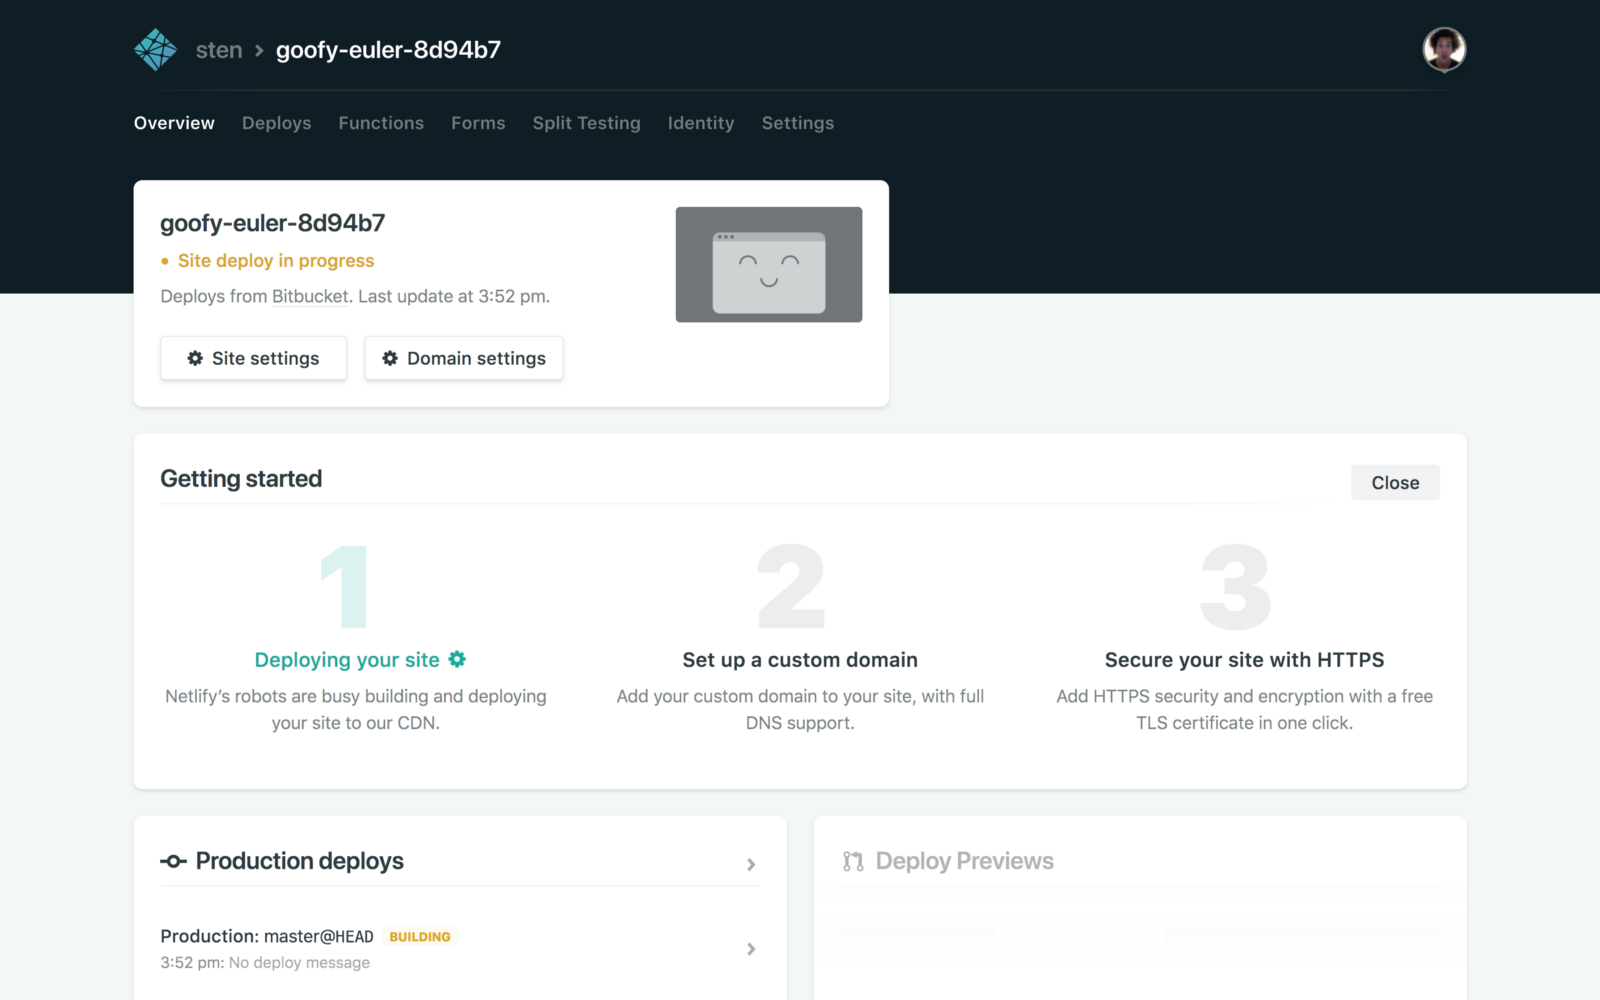
Once your site is deployed you will have access to a custom URL allowing you to browse the content.
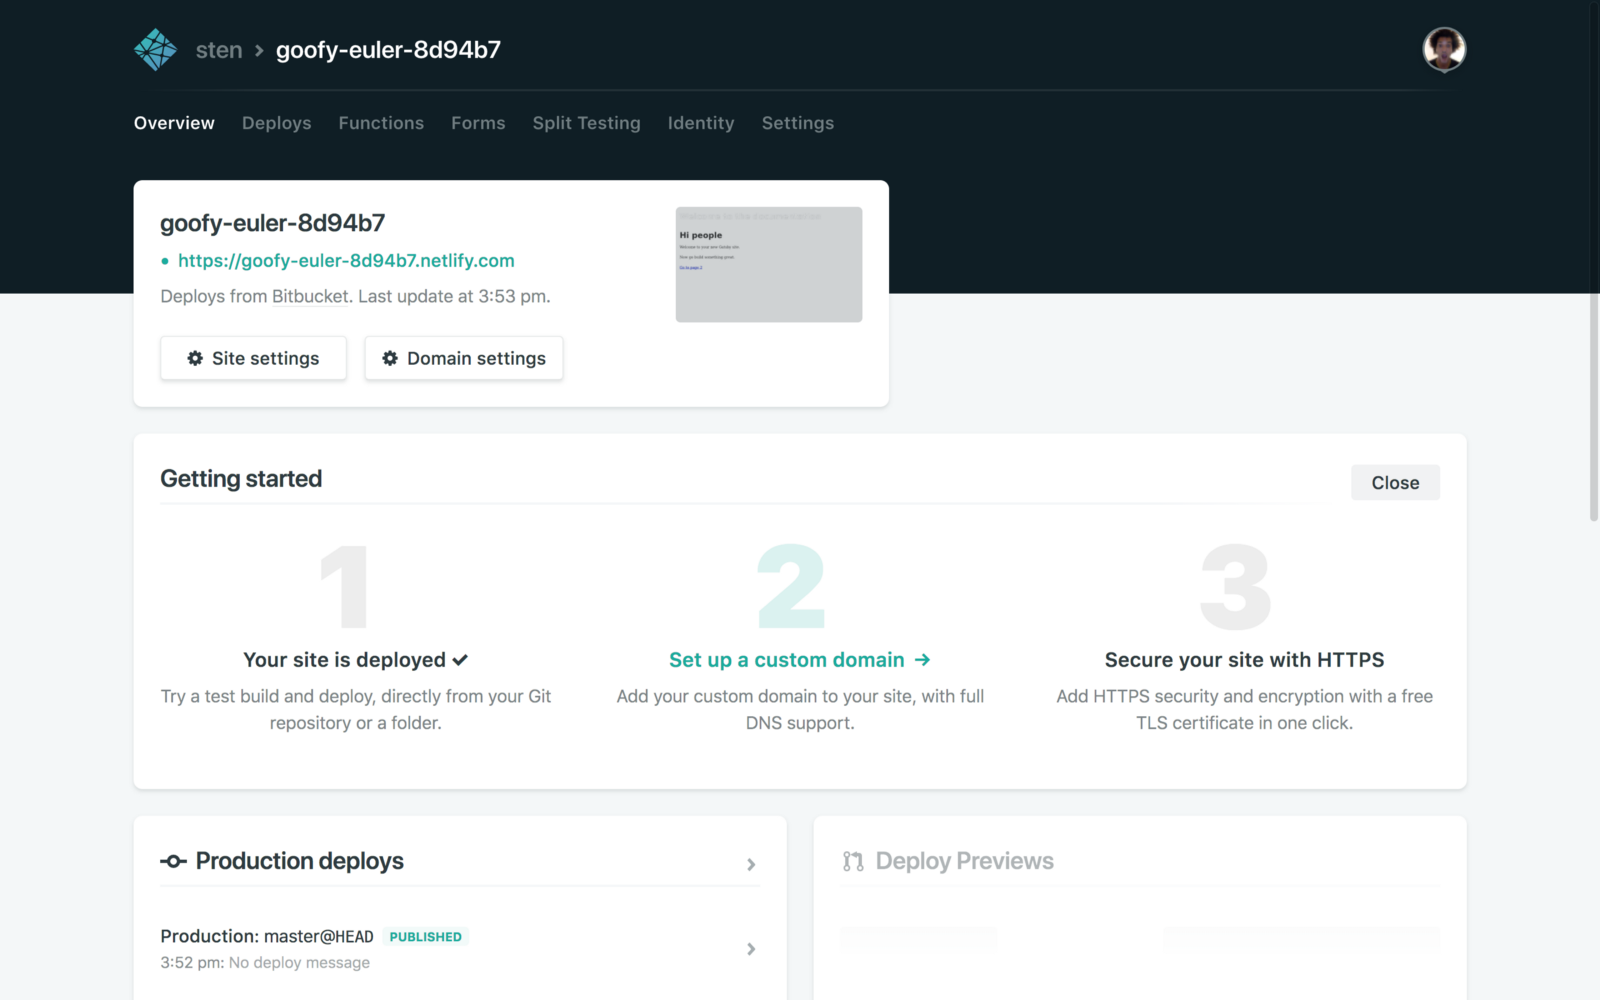
You can now go to http://your-subdomain.netlify.com/getting-started and http://your-subdomain.netlify.com/about to see the HTML version of your docs online.

What’s next?
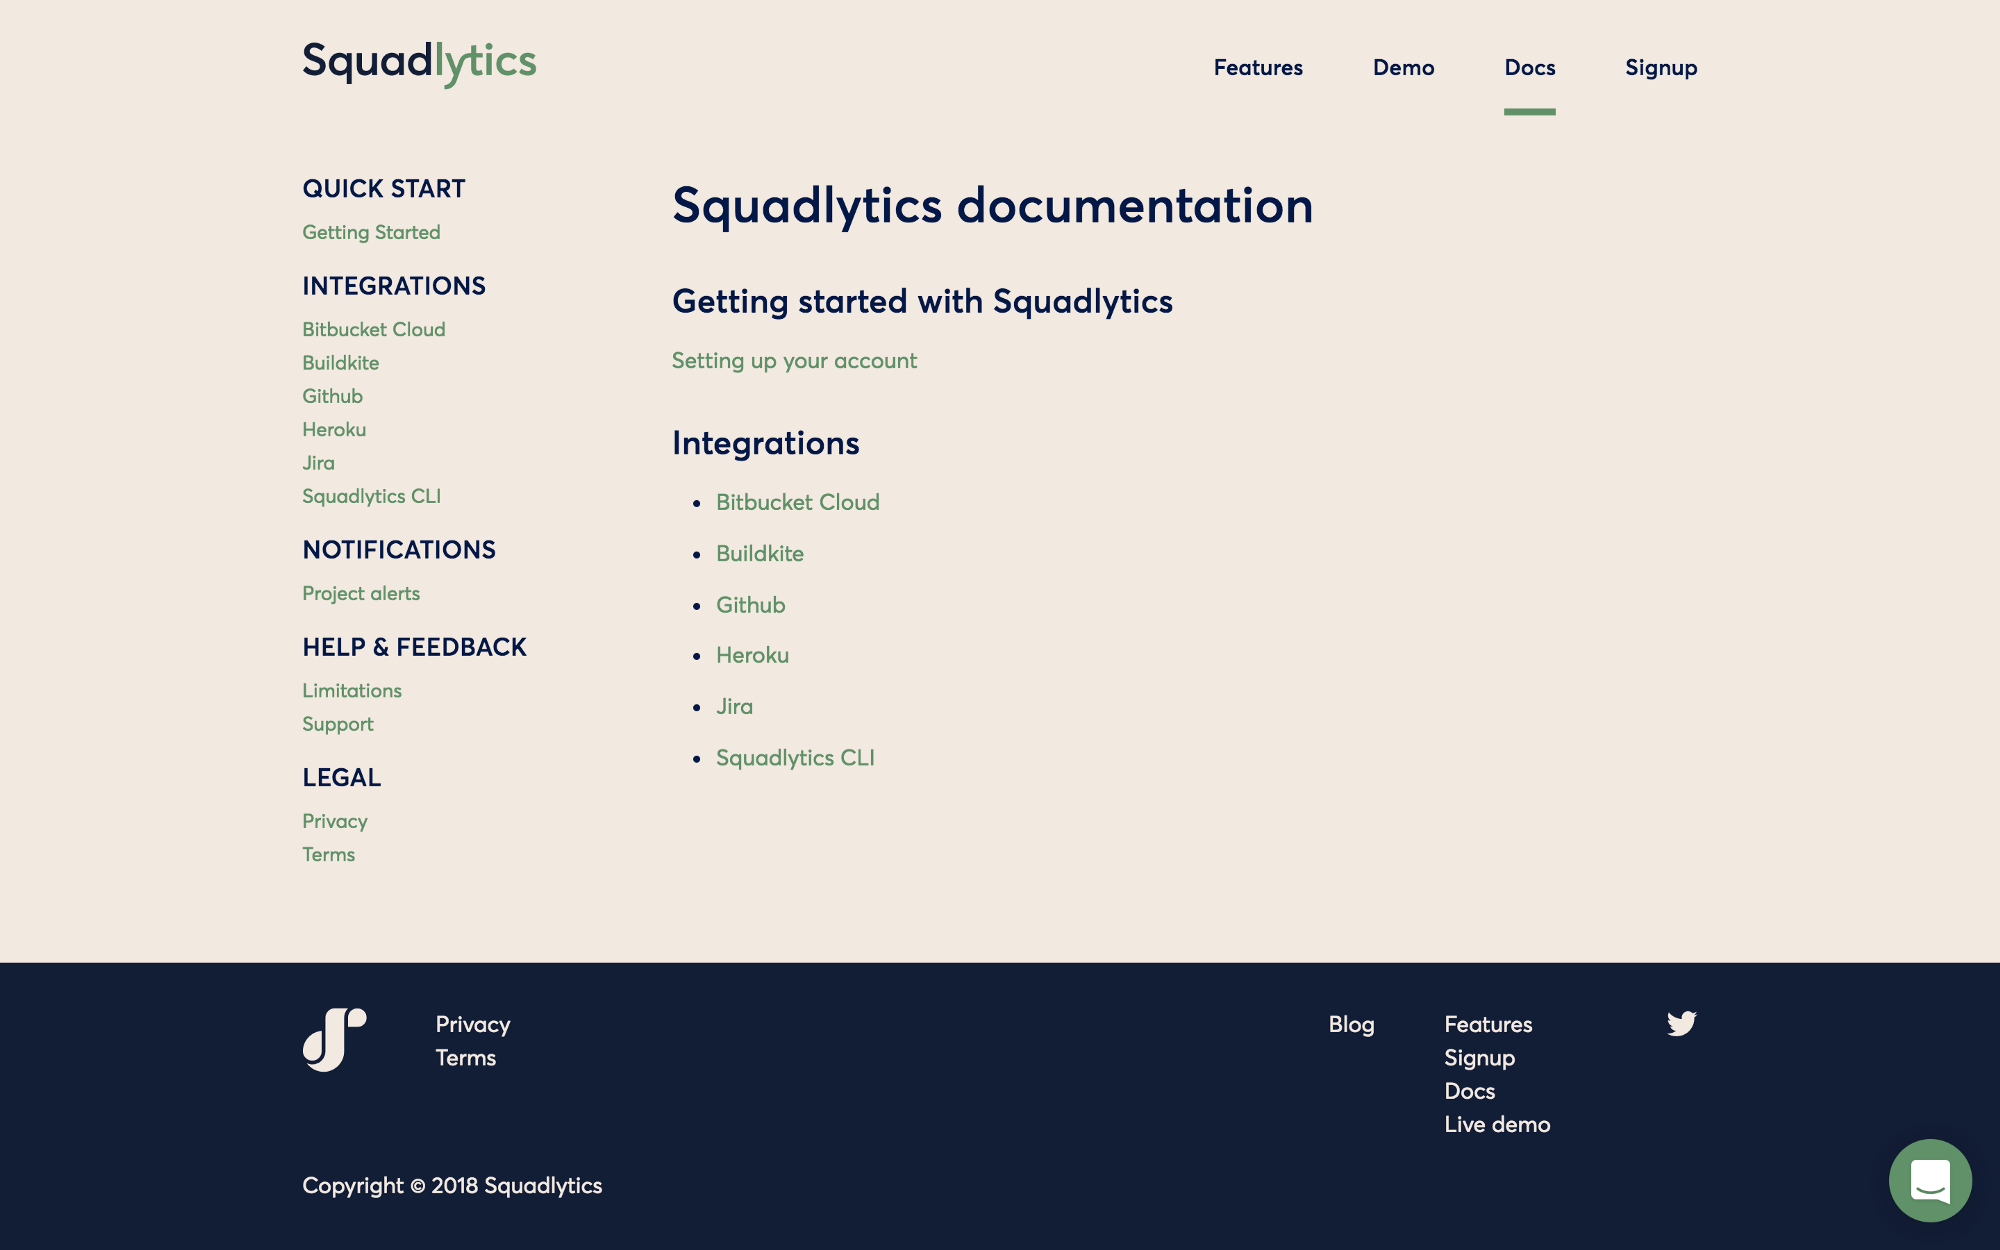
Our docs are viewable online but our website doesn’t really look the part. Check out part 2 to see how we can build a layout similar to https://docs.squadlytics.com/ with a standard navigation bar on the left and the content on the right.
If you want to directly look at the source code of our docs you can check it on Bitbucket. Don’t hesitate to comment if you have any question.
Squadlytics is a Team Analytics platform that gives you automated reporting and alerts on projects. Follow us on Twitter and don’t hesitate to say hi at [email protected].